

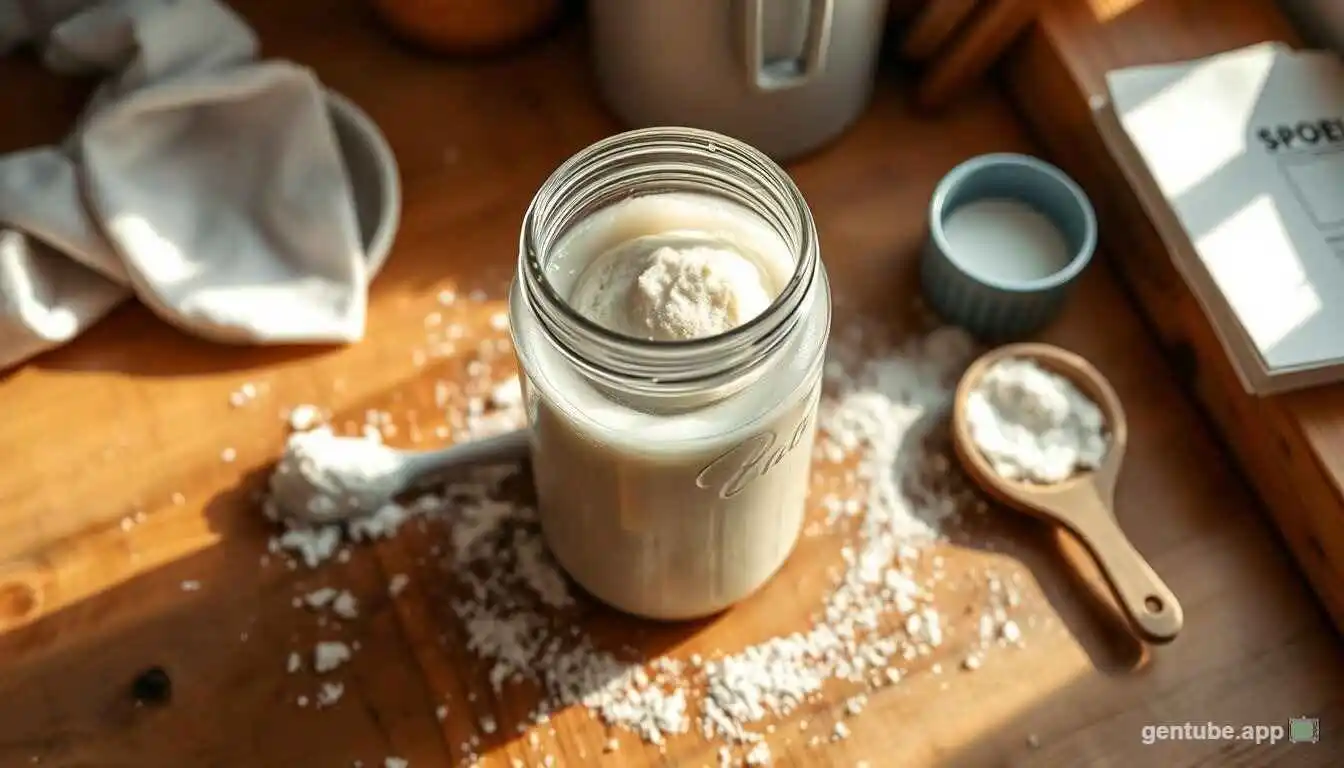
Sourdough Starter Secrets: The No-Fail Guide Every First-Time Baker Wishes They Had From Day One
Introduction: The Jar That Changes Everything
Somewhere on a kitchen counter right now, a jar of flour and water is quietly transforming into something alive. No packet, no store run, no expiration date stamped on foil — just wild yeast and bacteria, invisible to the eye, slowly waking up and getting to work. This is the strange magic of a sourdough starter, and it’s exactly why so many first-time bakers fall hard for it and never look back.
But that same magic is also why sourdough intimidates so many people before they even begin. The internet is full of conflicting advice, mysterious smells nobody warned you about, and a vocabulary — hooch, discard, float test, autolyse — that sounds like it belongs in a chemistry lab rather than a kitchen. This guide strips all of that confusion away. Whether you’re mixing your very first jar today or trying to rescue a starter you’re convinced is already dead, everything here is built to get you from confused beginner to confident baker, one honest, no-nonsense explanation at a time.
What a Sourdough Starter Actually Is (and Why It Works)
At its core, a starter is nothing more than flour and water left to sit until it captures wild yeast and lactic acid bacteria — some from the flour itself, some drifting in from the air and your kitchen surfaces. Once established, these microorganisms feed on the natural sugars in flour, producing carbon dioxide gas (which leavens your bread) and organic acids (which give sourdough its signature tang).
Unlike commercial yeast, which is a single, cultivated strain bred purely for speed and consistency, a starter is a small ecosystem — a living balance of multiple yeast and bacteria species working together. That’s part of why no two starters, even ones started with the identical recipe in the identical kitchen, ever taste quite the same. Your starter is, in a very real sense, unique to your home.
Building Your Starter From Day One
Choosing Your Flour
Whole wheat and rye flour are widely considered the best choice for kickstarting a new culture, simply because they retain more of the bran and germ, which naturally carry more wild yeast, bacteria, and nutrients than heavily refined white flour. Many bakers use whole grain flour for the first several feedings, then gradually transition to all-purpose or bread flour once fermentation is clearly established, since white flour produces a milder-flavored, easier-to-manage starter for everyday baking.
Getting the Water Right
Room-temperature filtered or bottled water is the safest bet in the early days, since heavily chlorinated tap water can suppress the very microorganisms you’re trying to encourage. Once your starter is robust and active, most municipal tap water stops being a meaningful obstacle, but during that fragile first week or two, it’s worth the small extra effort.
The First Mix
A simple equal-parts mix — the same weight of flour and water — combined in a clean glass jar is the easiest starting point. Stir thoroughly until no dry flour remains, scrape down the sides, and cover loosely, allowing airflow rather than sealing it airtight. Then comes the hardest part for most beginners: waiting.
The Waiting Game
Don’t be discouraged if nothing visible happens for two to four days. Wild yeast populations need time to establish themselves, and early bubbling can sometimes appear and then disappear again as different microorganisms compete before the culture stabilizes. Real, reliable rising activity — where the starter roughly doubles within a few hours of feeding — usually shows up somewhere between day five and day fourteen, depending on your kitchen’s temperature and the flour you’re using.
The Daily (or Weekly) Feeding Routine
Once your starter shows consistent activity, feeding becomes a simple rhythm rather than a mystery. Discard all but a small portion of the starter, then add fresh flour and water in roughly equal weight to what remains. This discard step isn’t wasteful housekeeping — it’s essential, keeping the ratio of fresh food to existing culture balanced so fermentation stays active and predictable rather than sluggish and overly acidic.
Room Temperature vs. Refrigeration
If you bake often, keeping your starter on the counter and feeding it once or twice daily will keep it consistently strong and ready to use. If you bake less frequently, refrigeration is your friend: cold temperatures slow yeast and bacterial activity dramatically, letting you stretch feedings out to once every seven to ten days. Just remember that a cold, unfed starter needs to come back to room temperature and get one or two feedings before it’s ready to leaven bread again.
Reading the Signs Along the Way
A grayish liquid pooling on top — often called hooch — simply means your starter is hungry and overdue for a feeding; it’s a completely normal byproduct, not a sign of failure. A sharp, acetone-like smell tells a similar story: your culture has gone a while without food and has built up excess alcohol and acidity. Both are easily resolved with a fresh feeding, sometimes preceded by an extra discard to reset the balance.
How to Tell If Your Starter Is Ready to Bake With
The Float Test
Drop a small spoonful of freshly fed, bubbly starter into a glass of room-temperature water. If it floats, it’s holding enough trapped gas to be considered active and ready for baking. If it sinks, give it more time, or another feeding, before putting it to work.
Visual and Textural Cues
A starter that’s ready to bake with typically doubles in size within four to eight hours of feeding, is riddled with bubbles from top to bottom, and has a pleasant, tangy-yeasty aroma rather than anything sour or off-putting. If your starter is consistently hitting these marks, it’s telling you it’s strong enough to leaven a loaf on its own.
Common Problems and How to Fix Them
It’s Not Rising at All
If you’re still in the first week, this is likely just normal early-stage fermentation — keep feeding consistently and give it more time. If it’s been several weeks with no activity, check your kitchen temperature (aim for 70–80°F), consider switching to whole grain flour for a feeding or two, and make sure you’re not accidentally using chlorinated water.
It Rose Beautifully, Then Suddenly Stopped
This is often just the natural rise-and-fall cycle of an actively fermenting starter — it will typically peak, then deflate as the yeast runs out of available food. As long as it’s rising reliably after each fresh feeding, this pattern is healthy, not a warning sign.
There’s Mold, Not Just Hooch
Fuzzy spots in pink, orange, black, or green are true mold, and unlike hooch, this means the batch should be discarded entirely rather than salvaged, since mold can spread deeper into the culture than what’s visible on the surface. This is fairly uncommon and is usually linked to inconsistent feeding or an unclean jar.
It Smells Unpleasant, Not Just Sour
A tangy, slightly yeasty, even faintly sour smell is completely normal. A smell that’s genuinely rotten, putrid, or otherwise repulsive — rather than simply sharp or acidic — combined with visible mold is one of the few real signs a starter needs to be discarded and restarted.
From Discard to Delicious: Don’t Let It Go to Waste
Every feeding produces discard, and rather than pouring it down the drain, most experienced bakers treat it as a bonus ingredient. Pancakes, waffles, crackers, muffins, and even pizza dough can all put discard to good use, adding a subtle tang and using up what would otherwise be wasted. It’s one of the simplest ways to make the daily maintenance routine feel less like upkeep and more like a standing invitation to bake something new.
Tools That Make Starter Maintenance Easier
A wide-mouth glass jar, roughly double the volume of your fed starter, gives the culture room to rise and makes stirring and scraping far easier than a narrow container. A loose-fitting lid or a cloth secured with a rubber band allows the airflow fermentation needs, while still keeping dust and contaminants out. A digital kitchen scale is arguably the single most valuable tool for consistency, since measuring flour and water by weight rather than volume produces far more predictable, repeatable results feeding after feeding.
How Your First Loaf Connects Back to the Starter
It’s tempting to think of the starter as just a preliminary step before the ‘real’ baking begins, but the truth is your starter is doing most of the heavy lifting long before the dough ever touches your hands. A strong, active starter mixed into flour, water, and salt is what creates the open, airy crumb and deep flavor sourdough is famous for — no packet of instant yeast can replicate that same complexity, because it doesn’t carry the same diversity of organic acids and byproducts your homegrown culture produces.
This is also why so much of sourdough troubleshooting during your first few bakes actually traces back to the starter rather than the dough itself. A dense, flat loaf is rarely a sign you did the shaping or scoring wrong — far more often, it means the starter wasn’t quite active enough at the moment you mixed it in. Learning to trust the float test and visual cues over the calendar date on your kitchen counter is one of the biggest mindset shifts that separates frustrated beginners from confident home bakers.
Building Confidence Beyond the First Loaf
https://youtu.be/mXJLVA675x0