

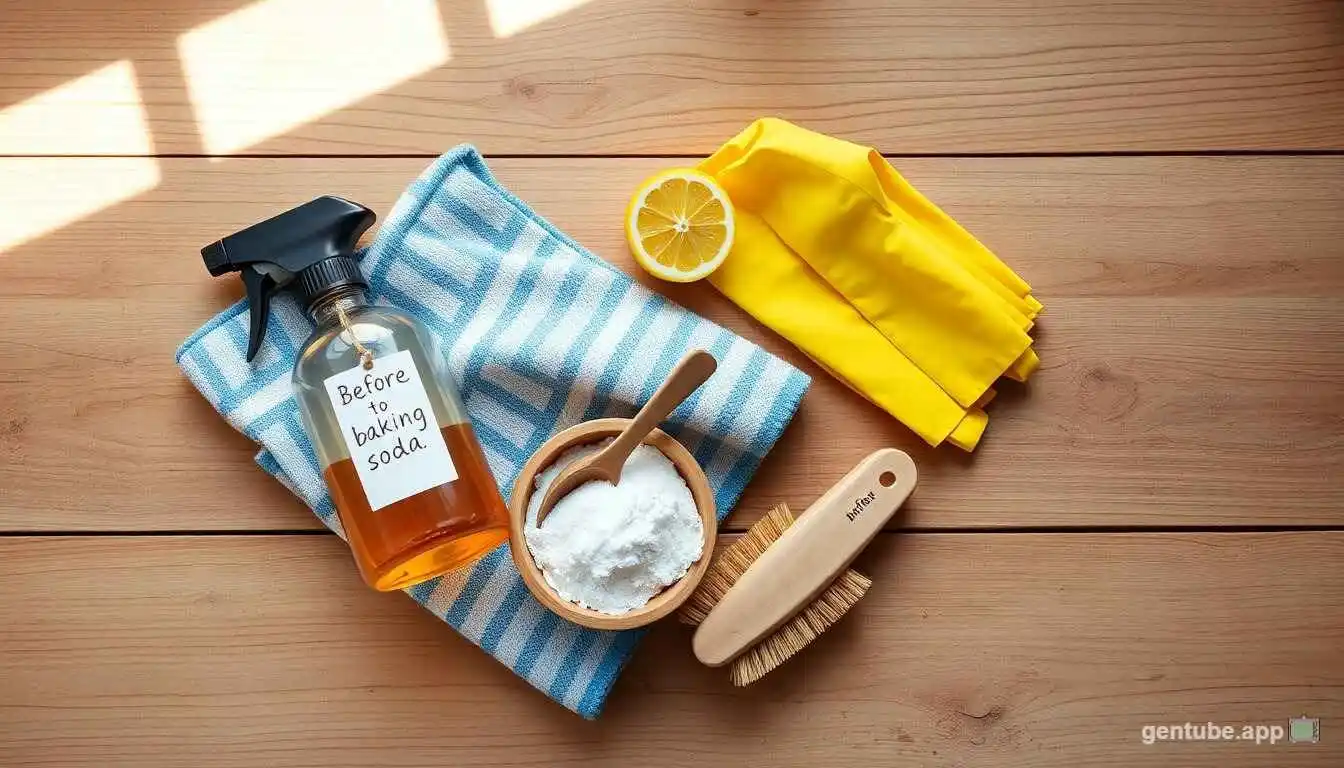
From Grime to Shine: 25 Cleaning Methods That Actually Work (Backed by Real Results)
Picture this: you’ve spent an entire Saturday scrubbing, spraying, and wiping, yet somehow your home still doesn’t feel truly clean. Sound familiar? The problem usually isn’t effort—it’s method. Most people clean the way they were taught by watching a parent or guessing along the way, without ever learning the reasoning behind why certain techniques work better than others.
This guide breaks down the most effective, tested cleaning methods used by professionals, chemists, and efficiency experts alike. You’ll learn not just what to do, but why it works, so you can adapt these principles to any surface, mess, or room you encounter. By the end, you’ll have a toolkit of techniques that make cleaning faster, more effective, and genuinely satisfying.
Rethinking How We Approach Cleaning
Most cleaning frustration comes from treating every mess the same way: spray, wipe, repeat. But dirt isn’t one uniform substance. It’s a combination of dust, grease, mineral deposits, biological residue, and countless other materials, each requiring a specific approach to remove effectively.
Professional cleaners operate on a simple but powerful framework: identify what you’re cleaning, understand what type of mess it is, choose the appropriate method and tool, and apply it with the correct technique. Skipping any one of these steps leads to wasted time, wasted product, and mediocre results. This guide walks through each of these considerations across every major area of the home, giving you a genuinely comprehensive understanding of effective cleaning.
Understanding Different Types of Dirt and Grime
Before selecting a cleaning method, it helps to categorize what you’re actually dealing with, since the wrong approach can waste time or even make a mess worse.
Dry, loose debris like dust, crumbs, and pet hair should always be removed first through dry methods like dusting, sweeping, or vacuuming before any liquid is introduced. Skipping this step and going straight to wet cleaning often turns dry debris into a paste that’s harder to remove.
Oily and greasy residue, commonly found in kitchens, requires surfactant-based cleaners like dish soap, which are specifically engineered to break the bond between grease and surfaces, allowing it to be rinsed away rather than simply smeared around.
Mineral deposits, such as hard water stains, limescale, and soap scum, respond best to acidic cleaners like vinegar or lemon juice, which chemically dissolve the alkaline mineral buildup that plain water and soap cannot touch.
Biological residue, including mold, mildew, and bacterial buildup, requires not just cleaning but genuine disinfection using products proven to kill pathogens, since visible removal doesn’t necessarily mean the underlying microorganisms are gone.
Sticky residue, like adhesive remnants or spilled syrup, often responds best to oil-based solutions like rubbing alcohol or specialized adhesive removers, which break down the sticky bonds that soap and water struggle to dissolve.
Recognizing which category you’re dealing with before reaching for a product saves significant time and prevents the common mistake of using an all-purpose cleaner on a problem that requires a targeted solution.
The Top-to-Bottom, Dry-to-Wet Cleaning Method
One of the most fundamental principles in professional cleaning is sequencing: always clean from top to bottom and from dry to wet. This isn’t arbitrary—it’s rooted in simple physics. Dust and debris naturally fall downward, so cleaning a floor before dusting shelves above it means redoing the floor. Similarly, introducing water or cleaning solutions before removing loose dry debris creates mud-like messes that are far more difficult to clean than either dry debris or a wet surface alone.
In practice, this means starting with ceiling fans, light fixtures, and the tops of cabinets or shelves, then working down to furniture surfaces, then finally addressing floors last. Within each surface, remove loose debris through dusting or vacuuming before introducing any liquid cleaning solution.
This method might seem obvious once stated, but it’s the single most common sequencing error people make, and correcting it alone can cut cleaning time significantly while improving results.
The Dwell Time Principle: Why Patience Pays Off
Perhaps the most overlooked aspect of effective cleaning is dwell time—the period a cleaning solution needs to remain in contact with a surface before wiping or rinsing. Most chemical cleaning reactions, whether breaking down grease, dissolving mineral deposits, or killing bacteria, require time to work, not just contact.
Spraying a cleaner and immediately wiping it away, a common habit born from wanting to see instant results, actually undermines the product’s effectiveness. Most disinfectants, for instance, require a specific contact time, often listed on the product label, ranging from thirty seconds to ten minutes, to actually kill the pathogens they claim to eliminate. Grease-cutting solutions similarly need time to break the molecular bonds holding grime to a surface.
The practical application: spray first, move to another task, and return to wipe and rinse after the recommended dwell time has passed. This simple shift in habit, working on multiple surfaces or rooms in rotation rather than completing one task from start to finish, dramatically improves results without adding extra time to your overall cleaning session.
Advanced Kitchen Cleaning Methods
The kitchen combines nearly every type of grime discussed above, making it an ideal place to apply a comprehensive cleaning strategy.
For stovetop and range cleaning, the method varies by material. Gas stovetops with removable grates benefit from soaking grates in hot soapy water while wiping the surface beneath with a degreasing solution. Glass and ceramic cooktops require non-abrasive cream cleaners applied with a soft cloth in circular motions to avoid scratching. Stainless steel surfaces should always be wiped in the direction of the grain to avoid visible streaking.
Oven cleaning benefits enormously from the dwell time principle. Applying a baking soda paste to the interior, left overnight, followed by a vinegar spray the next morning creates a gentle foaming reaction that lifts baked-on residue with minimal scrubbing required. This method avoids the harsh fumes associated with commercial oven cleaners while achieving comparable results.
Refrigerator organization and cleaning should happen in stages: remove all items and check expiration dates, wipe shelves and drawers with warm soapy water, dry thoroughly before replacing items, and maintain freshness with an open box of baking soda that should be replaced every three months.
Cutting board sanitization depends on material. Wooden boards should be cleaned with a mixture of coarse salt and lemon, scrubbed and rinsed, never soaked, which can cause warping. Plastic boards can be run through a dishwasher or sanitized with a diluted bleach solution for genuine disinfection after handling raw meat.
Advanced Bathroom Cleaning Methods
Bathrooms present unique challenges due to constant moisture exposure, making them prone to both mineral buildup and biological growth.
Showerhead descaling addresses one of the most commonly neglected areas. Mineral deposits gradually clog showerhead nozzles, reducing water pressure over time. Soaking the showerhead in a plastic bag filled with white vinegar, secured with a rubber band, for several hours or overnight, dissolves mineral buildup effectively without requiring disassembly in most cases.
Toilet tank maintenance goes beyond simply cleaning the bowl. Periodically cleaning inside the tank, which can develop mineral deposits and even mold over time, involves turning off the water supply, draining the tank, and scrubbing with a vinegar solution before refilling.
Exhaust fan cleaning is frequently overlooked despite playing a crucial role in preventing moisture buildup and mold growth. Removing the cover periodically and vacuuming accumulated dust, then wiping with a damp cloth, maintains proper airflow and prevents the fan from becoming a fire hazard due to dust accumulation.
Grout restoration for particularly neglected or stained grout may require an oxygen bleach solution applied and left to sit for fifteen to twenty minutes before scrubbing with a stiff nylon brush, followed by a grout sealer application once clean and dry to prevent future staining.
Advanced Floor Cleaning Methods by Material
Different flooring materials require distinctly different care approaches, and using the wrong method can cause lasting damage.
Hardwood floors should never be cleaned with excess water, which can seep into seams and cause warping or discoloration. A microfiber mop lightly dampened with a wood-specific cleaner, used in the direction of the wood grain, protects the finish while effectively removing dirt and grime.
Tile and grout benefit from a two-step approach: mopping with a pH-neutral cleaner for the tile surface, combined with periodic targeted grout cleaning using a stiff brush and specialized grout cleaner or a baking soda paste for lighter maintenance.
Natural stone flooring, including marble, travertine, and granite, requires pH-neutral, stone-specific cleaners exclusively, since acidic cleaners like vinegar can etch and permanently dull the surface over time.
Vinyl and laminate flooring should be cleaned with minimal water and a slightly damp mop, since excess moisture can seep into seams and cause swelling or lifting, particularly in laminate materials with a wood-composite core.
Carpet and rugs benefit from regular vacuuming using a machine with rotating brushes to lift embedded dirt, combined with periodic deep cleaning through steam cleaning or professional service, ideally every twelve to eighteen months depending on foot traffic and household allergies.
The Method Behind Effective Dusting
Dusting seems simple, but most people do it inefficiently, essentially just redistributing dust rather than removing it. Using a dry cloth or feather duster often just stirs particles into the air, where they eventually resettle on the same surfaces.
The more effective method uses a slightly damp microfiber cloth, or a dry microfiber cloth designed with electrostatic properties, both of which trap dust particles rather than scattering them. Working from top to bottom within each room, and folding the cloth periodically to expose a clean surface rather than continuing to spread already-collected dust, maintains effectiveness throughout the task.
For hard-to-reach areas like ceiling fan blades, vents, and the tops of door frames, an extendable duster with a microfiber or electrostatic head allows thorough cleaning without constant repositioning of a step stool or ladder.
Laundry Cleaning Methods for Better Results
Laundry, while a routine task, benefits significantly from method-based improvements that most households never consider.
Sorting strategically beyond simply separating lights and darks means grouping by fabric type and soil level, since heavily soiled items can redeposit dirt onto lighter items in the same load, and delicate fabrics require different water temperatures and cycle speeds than sturdy cottons.
Pre-treating stains before they enter the washing machine dramatically improves outcomes, since the agitation and detergent in a standard wash cycle often aren’t enough to fully remove set-in stains without targeted pre-treatment.
Using the correct amount of detergent addresses a surprisingly common mistake, since excess detergent doesn’t clean better and can actually leave residue that attracts more dirt and causes fabric to feel stiff, while too little detergent fails to fully clean, particularly in hard water areas.
Washing at the appropriate temperature balances cleaning effectiveness with fabric care and energy efficiency. Hot water works best for heavily soiled whites and items requiring genuine sanitization, while cold water preserves colors and is gentler on most everyday fabrics while still effectively cleaning with modern detergents formulated for cold-water use.
Cleaning Methods for Reducing Allergens
For households dealing with allergies or asthma, cleaning methods should specifically target allergen reduction, which requires slightly different priorities than general tidiness.
Using a vacuum cleaner equipped with a HEPA filter traps significantly more dust, pet dander, and pollen than standard vacuum filters, which can otherwise recirculate fine particles back into the air. Washing bedding weekly in hot water, ideally at least 130°F, kills dust mites that thrive in fabric fibers. Reducing fabric-heavy decor like heavy curtains and excessive throw pillows in favor of washable or minimal alternatives reduces the surface area available for allergen accumulation. Maintaining indoor humidity between thirty and fifty percent through dehumidifiers in damp climates prevents dust mite proliferation and mold growth, both significant allergen sources.
Time-Saving Cleaning Methods for Busy Households
https://youtu.be/66wRol63LIE